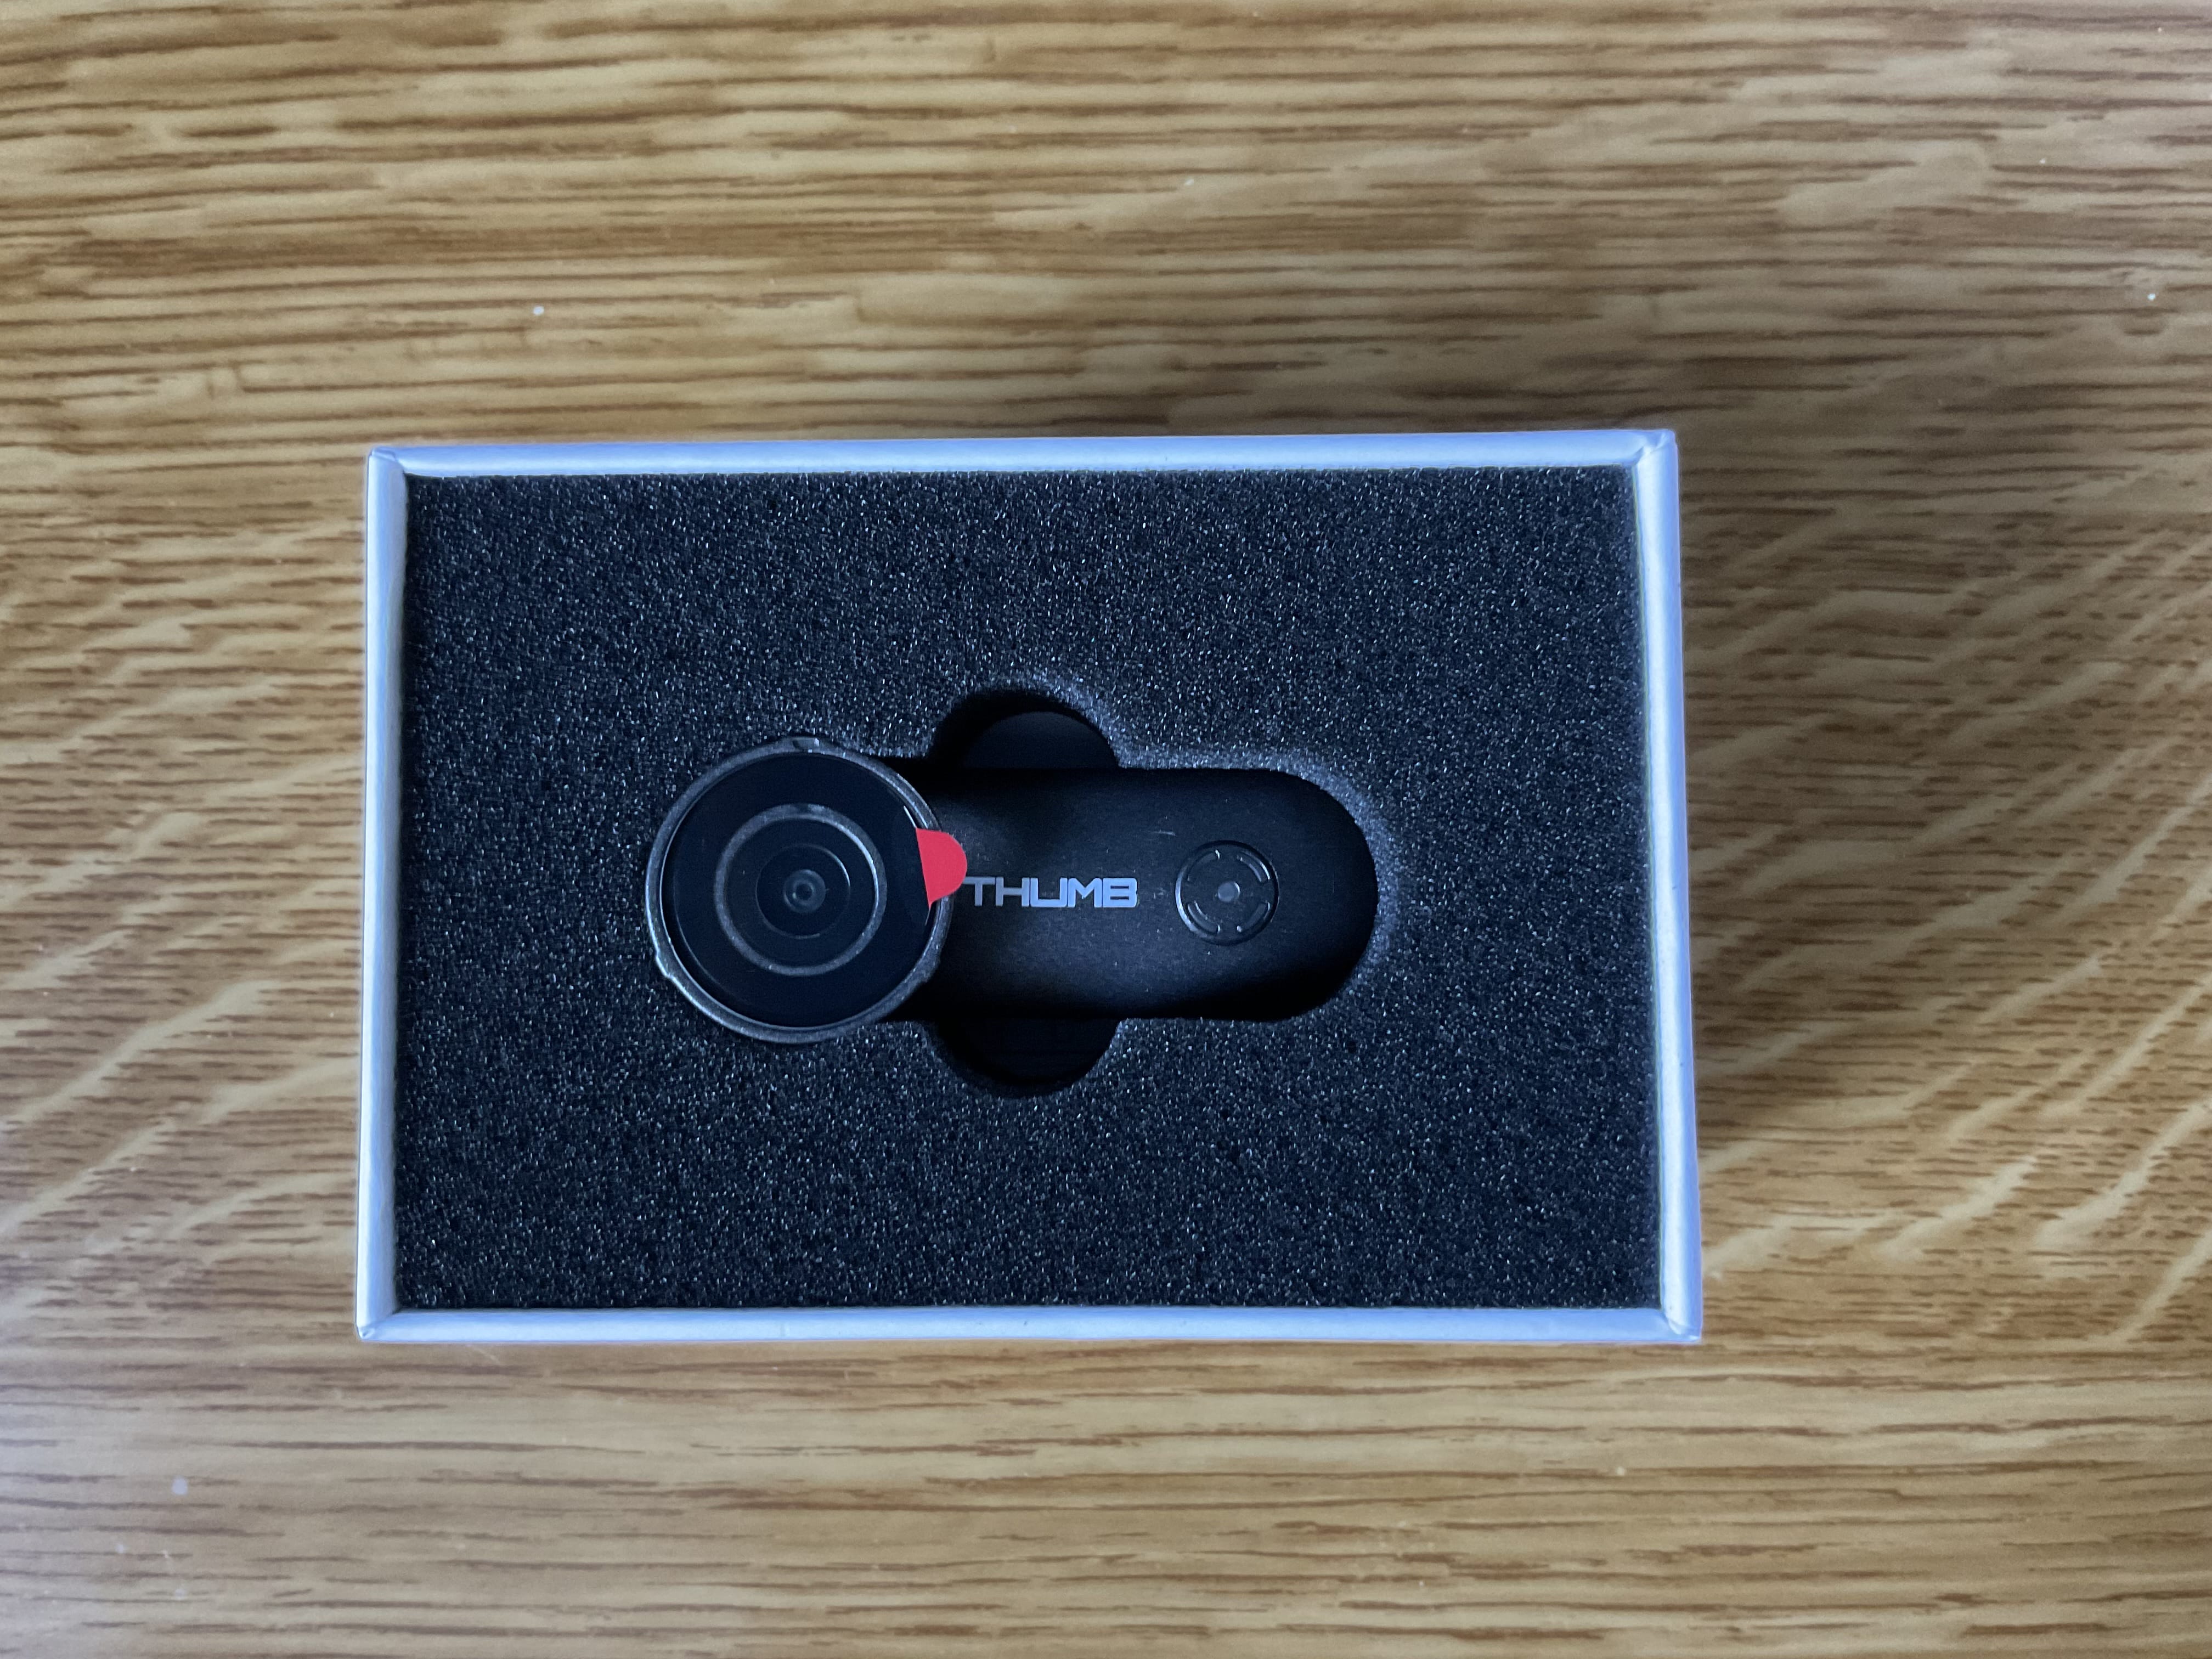
The RunCam Thumb came out long ago, but with the Pro version now released its price has dropped to a very affordable $35. So let’s take a look at what you get for that price.
Disclaimer: I bought this camera with my own money, and I’m not sponsored by RunCam in any way.
Specs
- 1080p 60fps (50fps with gyro data)
- 150° FOV
- Power from USB or 5V (from the flight controller)
- very small and light (9.8g, 52x13x21mm)
What’s in the Box
The camera comes in a small box with :
- a USB cable,
- a manual,
- two mounting brackets,
- a power cable,
- and (really nice) a ND16 filter.


The Camera
The camera itself is very small and light, and the build quality seems good. The plastic case seems durable and lightweigt. The lens are protected by a swappable lens cover, which can be removed to install the ND16 filter. There is a micro USB port on the side, and a micro SD card slot behind a removable cover on the back. Howerver this cover is not very secure, and seems like it could easily fall off in a crash. Since accessing the SD Card is not really necessary, I designed a mounting bracket that covers the SD card slot and locks the cover in place.
There is no battery in the camera, so it needs to be powered from the flight controller. This is done with a 5V power cable that connects to the camera’s power input and the flight controller’s 5V output. The camera can also be powered from a USB port, which is very convenient for setting it up.

Enabling Gyro Data
The camera has a built-in gyro, which can be used to stabilize the video using Gyroflow. However, it is disabled by default. To use this feature, enable gyro data logging in the configuration file. There are two settings to adjust : the video resolution and the gyro data logging.
The configuration is very simple thanks to a file-based approach. The camera automatically creates a thumb.conf file at the root of the SD card, which contains all the settings. This file can be edited using any text editor and will be read by the camera at startup.
To edit the file, connect the camera to your computer using the USB cable, and open the thumb.conf file in a text editor. Alternatively, you can remove the SD card from the camera and edit the file directly on your computer.
Once the file is open, change the following settings :
- Set the video resolution to 1080p50
- Set the gyro data logging to 1
The configuration file should look like this after the changes :
... other settings ...

; Video settings
[Video]
; Resolution.
; Available values: [0]:1080p60fps; [1]:1080p50fps; [2]:1080p30fps;
; Default value: [0]
videoResolution=1

; Gcsv file:Please use a high-speed card above 64G and configure the video resolution to 1080p@50fps;
; Available values: [0]:OFF; [1]:ON;
; Default value: [0];
GCsv=1

... other settings ...
The camera now records two files : a video file and a .gcsv file containing the gyro data. The video file can be played back normally, and the gyro data can be used to stabilize the video in post-processing using Gyrflow.

In-flight testing
This camera is especially well suited for small quadcopters. I tried it on my 3D-printed 3" quadcopter (which I’m planning to release soon), and it works great. The raw video is shaky, but the gyro data can be used to stabilize it after the fact.

Where to Buy
(These are affiliate links, so I get a small commission at no cost to you.)
